In the last blog, I recommended the Hatchments in Britain book, enabling its reader to decipher the hidden meaning within these depictions of heraldic achievement.
In this blog, I want to share something more practical, which I hope will be of use.
Hatchments are often hanging high up on the walls in churches – often above the level of any decent light. They can therefore be a complete pain to photograph. Put simply, if the light is poor, in order to capture enough of the image to process decently later on, you are going to want to use a tripod – but what I want to show you is what to do with that image if you have managed to get a detailed, if dark and skewed image.
Consider the following hatchment image, taken in Bobbingworth church.
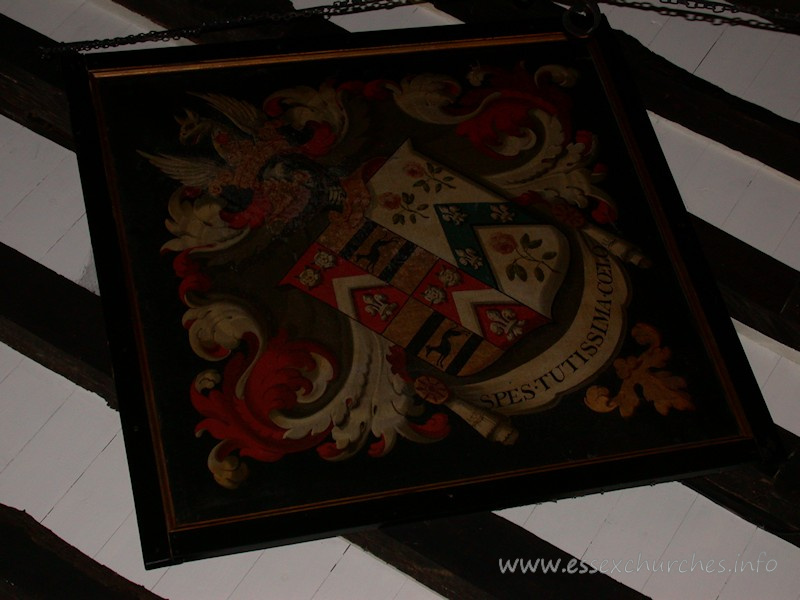
The image is hardly something to write home about, is it?
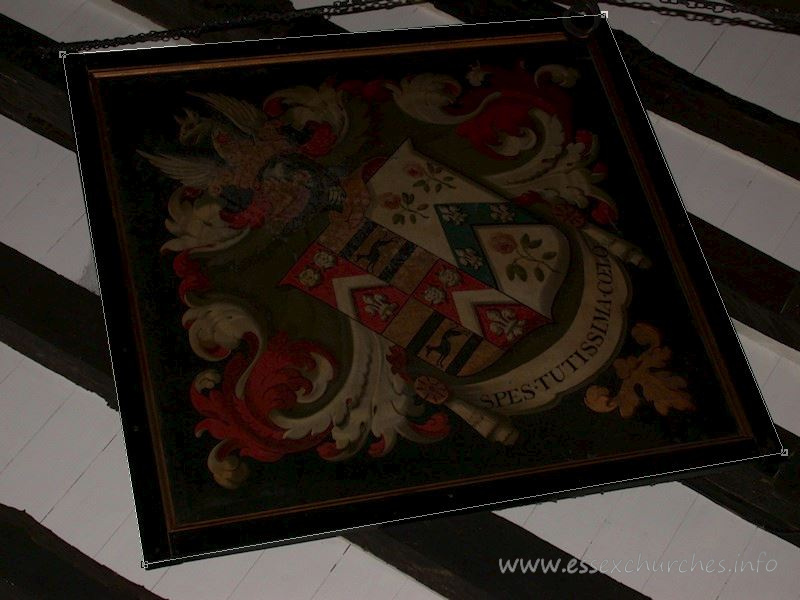
What we ideally want to do, is show the hatchment lozenge the correct way up, and perfectly squared. You need a photo editing package that can perform perspective correction – preferably one where you plot four points on the image, which represent a parallelogram if it were viewed straight on. See below for those four points shown in my copy of Paint Shop Pro X4.
You then just click ‘apply’, and the program will do all of the mathematics for you, re-mapping the image to correct the perspective, as below – though we are not finished yet.
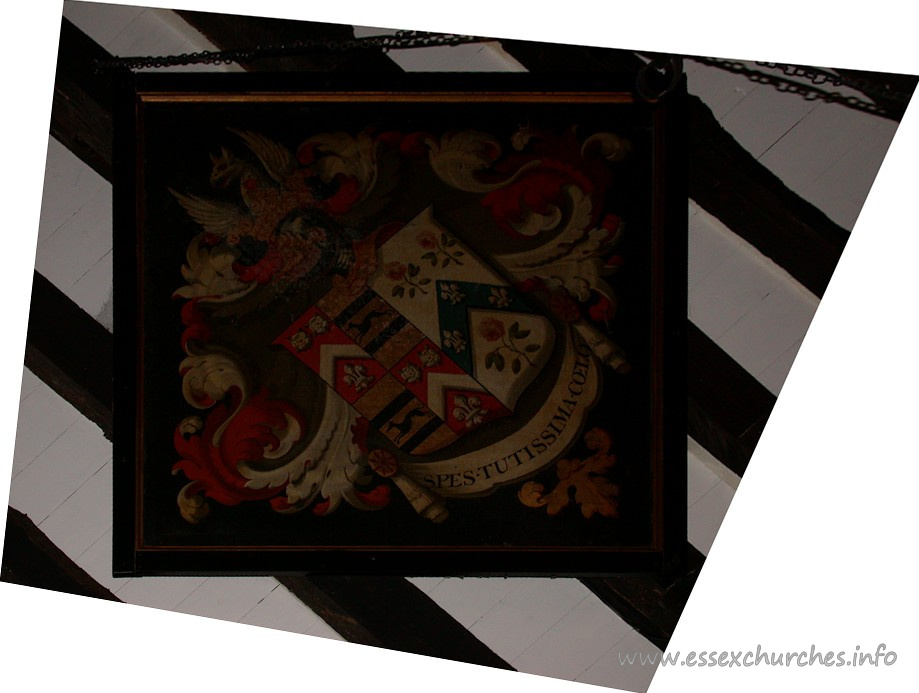
It may be possible to achieve the re-mapping shown above using other types of geometric perspective correction, but the co-ordinate plotting method is by far the simplest. As I said, I use Paint Shop Pro – which has had this function for many years. I also know that Adobe Photoshop (full edition) can perform this function (it resides within the cropping functionality) – though Adobe Lightroom and Photoshop Elements do not, to my knowledge, support it.
The next task on our list is to re-square the hatchment. We do this by firstly cropping the hatchment frame correctly. You should crop exactly where the front surface’s edges are. I.e. you want to be left with ONLY the front surface of the hatchment, as shown below.
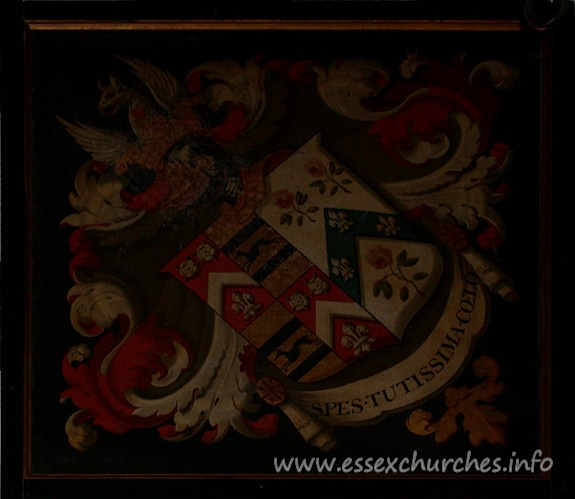
Then we need to re-square it. This is done by re-sizing the image, but ensuring that the aspect ratio is not preserved during the resize. Essentially we are moving from a rectangle to a square, and maintaining the aspect ratio would cause any resized image to remain rectangular. In your resize dialogue, find out what the length of the current short side of the image is in pixels, and then set both the width and the height to that shorter pixel length, as shown below.
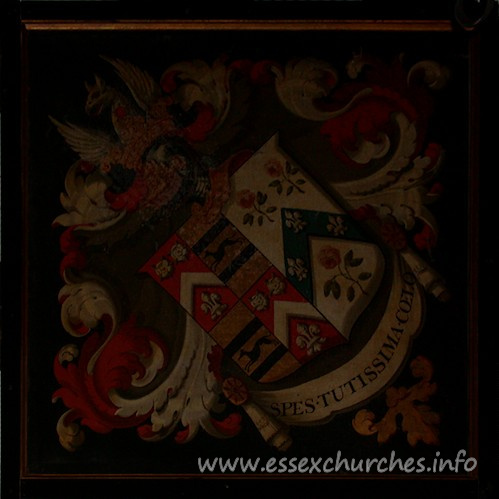
Now we can restore some of the image contrast etc. To get the image below, I performed:
- Auto contrast
- Auto colour balance
- Auto saturation
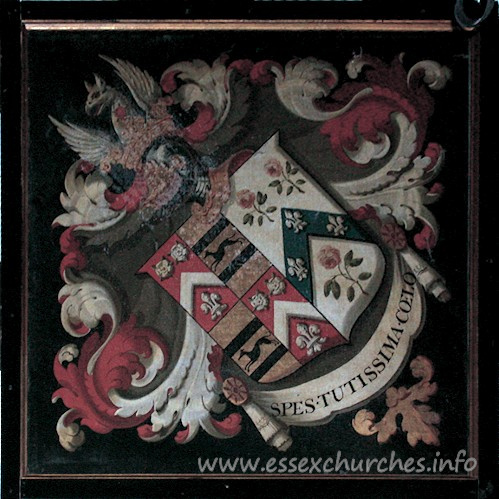
Then finally, you just free-rotate the image accordingly, specifying a white background for new ’empty space’.
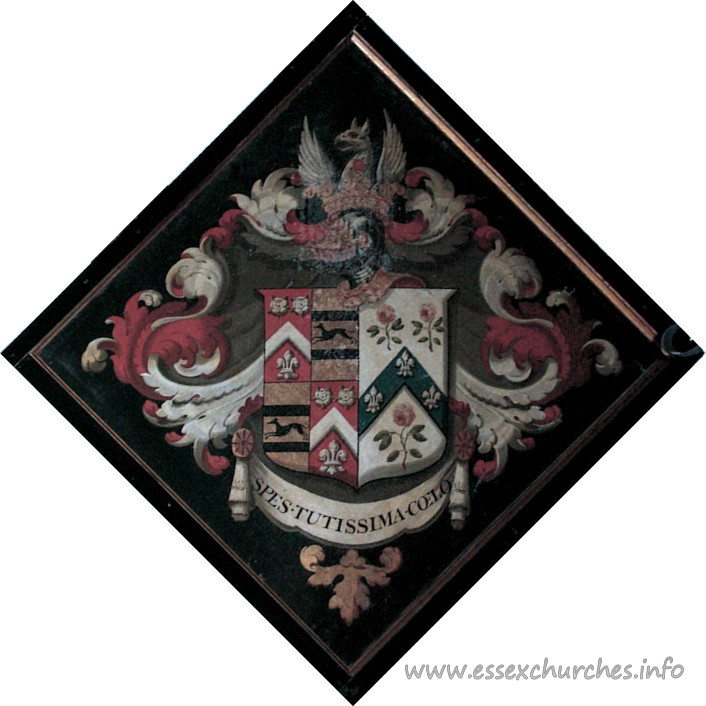
I hope this has been useful. Please do let me know.
Share:Follow:
